Ever gazed at the endless night sky with its glittering stars and celestial wonders and wished to capture that beauty? If so, you may be curious about the specialized photography genre of astrophotography. But what is astrophotography? How does astrophotography work?
Embark on a journey to discover crucial techniques for night sky photography, such as mastering long exposure shots and employing stacked image processing. Additionally, we’ll share key concepts related to selecting the right astrophotography gear and offer best practices for capturing breathtaking visions.
Dive into the vibrant community surrounding this captivating hobby, connecting with fellow enthusiasts and enhancing astrophotography skills.

What Is Astrophotography?
Astrophotography is the practice of photographing astronomical objects like the Moon, stars, planets, and galaxies to reveal the universe’s wonders. It uses specialized cameras, telescopes, equipment, and techniques to capture cosmic phenomena in great detail. The aim is to document intricate celestial details and events to appreciate and study.
Various subjects unfold in astrophotography, from exploring Moon craters to capturing the vibrant glow of distant nebulae. With the correct equipment and techniques, enthusiasts can unveil the beauty and secrets of space through unique images.
But why is astrophotography important? This fascinating intersection of creative arts and analytical sciences advances our cosmic understanding and inspires awe. Specialized astrophotography cameras, equipped with sensors far more sensitive than ordinary ones, play a crucial role in collecting the faint light emitted by stars and galaxies.
Tools of the Trade
Cameras and telescopes
DSLR cameras
DSLR cameras are a common choice for astrophotography because their sensors have high enough sensitivity to capture faint celestial light. DSLRs allow for interchangeable lenses, providing photographers flexibility in focal lengths to compose images how they’d like.
Additionally, they provide the flexibility of manual control, allowing adjustments to settings such as ISO and exposure time. This manual control is crucial for astrophotography, where longer exposures are necessary to gather sufficient light.
Telescope mounts
Equatorial telescope mounts are used to counteract the rotation of the night sky during long exposures. This allows the camera to stay locked on a celestial object as the earth rotates rather than have stars trailing across the image. Motorized mounts automatically guide telescopes to follow objects across the sky.
Telescopes
Telescopes gather more light than camera lenses alone due to their large mirrors. Reflector telescopes with big mirrors can collect faint light from distant galaxies and nebulae. Short focal length telescopes provide wide, sprawling views of the night sky.
Furthermore, telescopes with long focal lengths offer high magnification, enabling close-up shots of smaller objects such as lunar craters. The substantial mirrors in astronomical telescopes gather more light than camera lenses, resulting in clearer and more detailed images.
It’s important to note that various telescope focal lengths serve distinct photographic purposes. For instance, short focal lengths are ideal for capturing expansive night skies, while long focal lengths allow for zooming in to observe intricate details on the Moon and planets’ surfaces.
Getting Started: Astrophotography Basics
Camera settings and techniques
Configuring exposure
Using manual mode is essential to control exposure settings for astrophotography. Increase the ISO setting to 3200 or higher to properly boost the camera’s light sensitivity to capture faint stars and galaxies.
Use longer shutter speeds of 15 seconds at a minimum to allow enough time for the camera sensor to collect ample light from dim celestial objects. Combining high ISO with long exposure times is key to gathering enough light to reveal cosmic details.
Composing shots
When preparing for astrophotography shoots, one should carefully consider composition. Opting for wide-angle lenses between 14mm and 35mm allows photographers to capture broad, sweeping vistas of the glittering night sky.
On the other hand, telephoto lenses in the 100mm to 400mm range can magnify smaller details, such as craters on the Moon or swirling gases in nebulae. Choosing the appropriate focal length depends on the desired outcome – whether one aims for expansive starry landscapes or a close perspective on galaxies and star clusters.
It’s advisable to compose shots with earthly landmarks like mountains, trees, or artificial structures to enhance visual interest. This thoughtful approach to composition enhances the overall impact of astrophotography, creating stunning and captivating images.
Achieving sharp focus
One should opt for manual focus mode in exploring crisply defined stars, providing complete control compared to autofocus. Begin by zooming in on a bright star, adjusting the focus ring until the light point becomes the smallest and sharpest. At infinity focus, distant stars and galaxies will exhibit sharpness throughout the frame.
However, autofocus ensures reliable focus acquisition when photographing a brilliantly illuminated subject like the Moon. Regardless of the chosen technique, achieving critical focus is essential for capturing maximum detail.

Types of Astrophotography
Deep-sky astrophotography
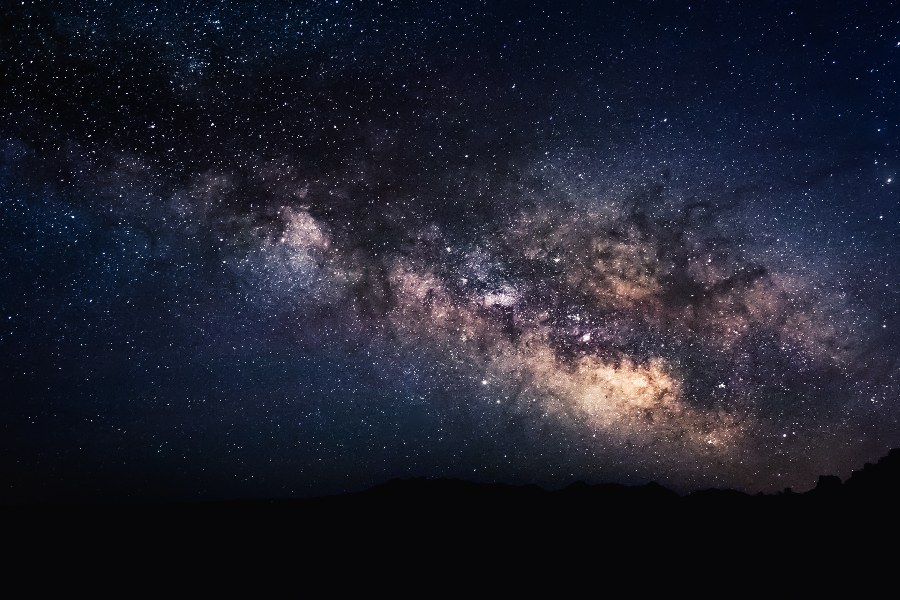
In deep-sky astrophotography, photographers aim to capture images of faint and distant celestial objects, such as galaxies, nebulae, and star clusters, far beyond our solar system. They often rely on equatorial tracking mounts to reveal the intricate details and vibrant colors of these dim cosmic structures. They use long exposure times, sometimes many hours, to accumulate enough light for a striking image.
The quest for optimal shots extends to the search for dark sky locations, far removed from the interference of light pollution. These locations play a pivotal role in ensuring the success of astrophotography endeavors.
Typically, photographers opt for wide-field telephoto lenses with focal lengths reaching 400mm. This allows them to capture the elaborate spirals of expansive objects like the Andromeda galaxy, creating visually stunning representations of the cosmos.
Solar system astrophotography
In contrast to exploring deep space, solar system astrophotography zooms in on objects closer to home. This includes the Sun, the Moon, planets, and sometimes comets orbiting our star. Unlike deep space objects, the Moon and planets shine through reflected sunlight.
To enhance surface details, photographers use color filters that bring out contrasts. Capturing close-up shots of Saturn’s rings or Jupiter’s intense storms requires telephoto lenses in the 100-400mm range. When photographing the Sun, it’s crucial to exercise extreme caution by using specialized safety filters to prevent eye damage.
Lunar astrophotography
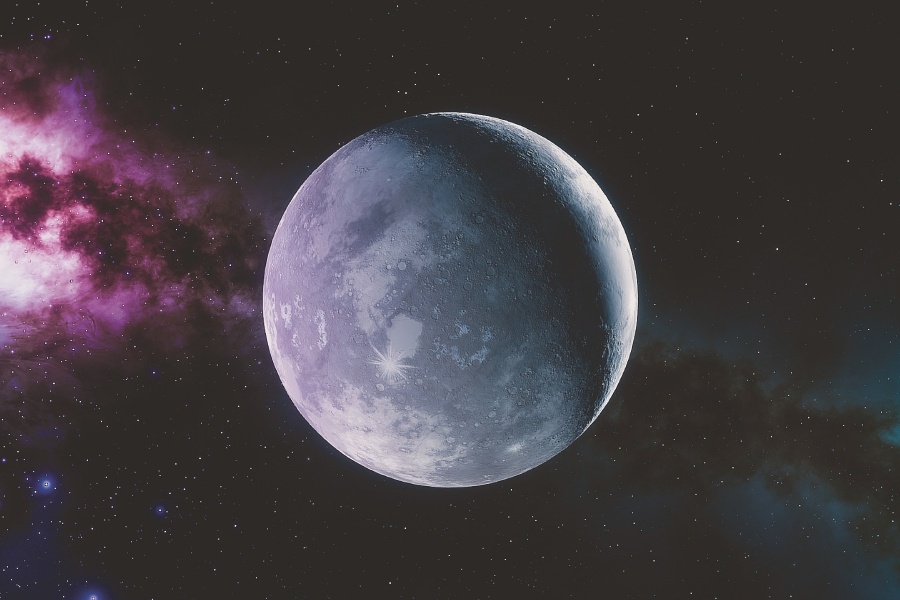
Lunar astrophotography is dedicated to capturing higher magnification photos that reveal intricate details of the Earth’s Moon. The goal of lunar imaging is to achieve crisp and clear shots that fully showcase the topology of lunar craters, mountains, valleys and rilles that scatter the surface.
Interesting images can be made during half-illuminated phases when shadows provide definition. Telephoto lenses from 200-400mm give nicely framed shots, while manual tracking of the Moon’s orbit is generally required.
Overcoming Challenges
Mitigating light pollution
Light pollution from urban areas causes major issues for astrophotographers. Stray artificial light reduces image quality through diffusion and interference. To combat light pollution, photographers travel far, seeking extremely dark rural locations without city lights.
Their best option is finding isolated spots like national parks hundreds of miles removed from development. Another mitigation technique involves specialized filters that block narrow bands of light.
These light pollution filters screw into lenses, selectively reducing wavelengths emitted from manufactured sources. This enhances contrast when imaging faint nebulae and galaxies.
Dealing with the weather
Cloudy skies or storms completely ruin planned astro photo shoots. Checking weather forecasts helps set expectations, but fast-moving systems can still surprise.
Photographers combat unpredictable weather by planning multiple night shoots over consecutive evenings. This provides flexibility to shift schedules should one night have poor viewing. It also allows capitalizing if several evenings have excellent transparency and minimal haze. Some opt for last-minute chases, pursuing remote areas with ideal forecasted conditions.
Capturing Motion: Star Trails
What are star trails?
The earth’s rotation causes star trails during long exposures. Stars appear to streak across the sky instead of remaining pinpoints of light. Trails showcase motion that our eyes cannot detect.
The concentric arcs in the images illustrate the rotational axis around which the stars circle. These visuals offer artistic perspectives of nightscapes, featuring dynamic illuminated streaks.
Setting up for star trails
One needs extended exposure times to capture mesmerizing star trails, typically spanning several hours. This extended duration allows the stars enough time to trail noticeably, showcasing their motion beautifully.
Choosing a wide lens for framing is crucial, as it captures not only the celestial dance but also provides the context of the surrounding landscape. Keeping the aperture at f/2.8 or wider ensures ample light enters the lens, enhancing the overall exposure. Before securing the camera, achieving precise manual focus for optimal results in astrophotography is essential.
Processing trails
To form full star trails, photographers capture hundreds of exposures over consecutive hours, later combining them in editing. This technique creates extended illuminated streaks across a larger portion of the sky. Automated batch editing workflows in the application streamline the process.
Moreover, the composite image employs light blending to selectively merge only the brighter spots of the star streaks, preventing overexposure in the background sky areas. The imaging process’s total duration determines the final composition’s overall length.

Going Beyond: Deep-Sky Imaging
Equipment needed
Achieving clear images of faint galaxies and nebulae demands advanced equipment, such as high-sensitivity cameras and telescopes featuring large light-gathering mirrors. Monochrome cameras, in particular, offer the advantage of using narrowband filters to focus on specific wavelengths.
Equatorial tracking mounts come into play to counteract the Earth’s rotation during long exposures, ensuring precise compensation. In the event of any drift, guide cameras and computers work seamlessly to automatically adjust the alignment, maintaining the accuracy of the observation.
Image acquisition
Capturing the faint light from galaxies requires numerous long exposure shots over several nights, accumulating hours of integration time. To achieve this, hundreds of sub-exposures are taken for each target, ensuring the collection of sufficient photons.
Additionally, opting for shorter exposures proves beneficial as they capture more detail without reaching saturation. This approach enhances pixel resolution, allowing for finer details, with a pixel resolution approaching one arcsecond.
Processing and enhancement
In deep-sky image processing, extensive post-processing is crucial in highlighting faint signals and enhancing subtle contrasts. To reduce background noise, calibration frames come into play. Each color channel undergoes individual adjustments before merging to create vibrant color images.
Transitioning to the next phase, using curves and histogram tools becomes essential for teasing structural details. As a final touch, adjustments such as boosting vibrance or a subtle reduction in stars may be applied, adding finesse to the overall composition.
Contributions of Astrophotography to Science
Amateur imagers as citizen scientists
In the past, only high-end equipment was used for astronomical observations. Still, nowadays, consumer cameras can match the capabilities of observatory tools.
Skilled amateur photographers focus on targets that might be challenging for professionals with limited resources. The extensive datasets they capture contribute significantly to studying variable stars, comets, and minor planets.
By submitting images, enthusiasts help advance scientific knowledge at a fraction of the cost associated with formal research. These volunteers play crucial roles in citizen science initiatives, using online crowdsourcing tools to classify galaxies, identify exoplanet transits, and map the structure of the Milky Way. Their efforts contribute to a deeper understanding of the universe.
Fostering a community of discovery
Amateur astronomy communities online encourage individuals to participate in challenges such as capturing images of Herschel 400 deep sky objects. Both professionals and hobbyists alike express excitement at discovering unique new finds. Showcases allow one to feature favorite images and share processing techniques, motivating others in the community.
Furthermore, bloggers within these groups share their astrophotography experiences and field journeys. They highlight their achievements and contribute to a community that values progress and discovery. Novices receive a warm welcome with guidance, while experienced imagers inspire others with their artistic pictures and technical insights.
Conclusion
What is astrophotography? Through this article, we hope readers now have a broader understanding of astrophotography and recognize the astounding images attainable by serious hobbyists and backyard observers using entry-level equipment.
We aimed to provide helpful guidance on the essential techniques—from configuring camera settings and putting focus at infinity to integrating long exposures that reveal galaxies tens of millions of lightyears away.
No matter the experience level, adopting an approach to experimentation is key. This involves appreciating the challenges that come with capturing cosmic wonders. By doing so, individuals can reap incredible rewards in their documentation journey.
