Creating an orbiting 3D model provides insights into relative sizes and distances between the Sun, planets, and other celestial bodies. However, there are some necessary steps to master the process of how to make Solar System model.
This article will take you through an engaging Solar System model DIY project to make an accurate scale replica of it. Learn key techniques to make a scale model of Solar System in inches.
We will provide simple methods to calculate orbits and angles supporting the elliptical paths traced by planets revolving around their star. Also, detailed, illustrated steps will cover assembling the full desktop model with correct proportional sizes and spacing for all components.
So, read on to gather easy guidelines and discover the materials for Solar System project!

How to Make Solar System Model
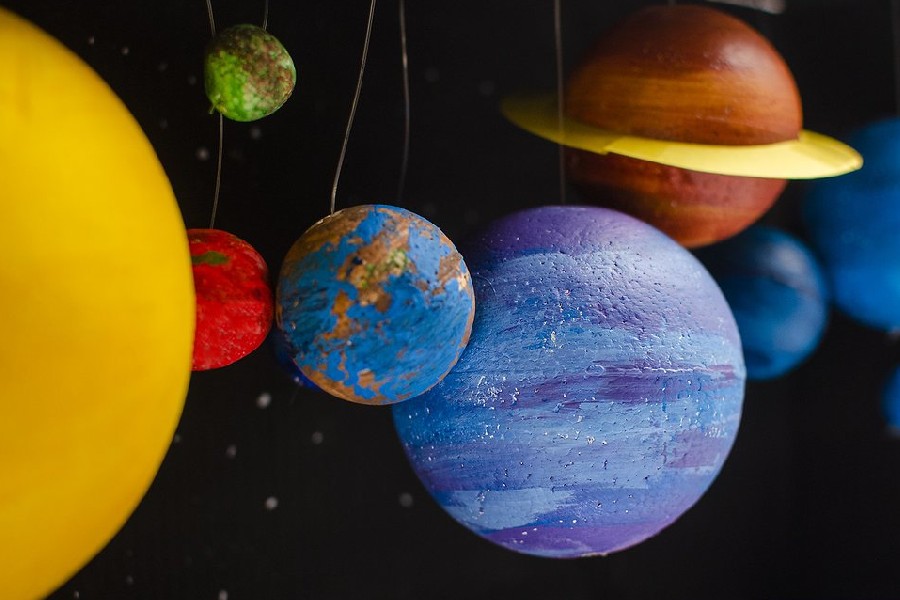
Crafting a Solar System model is an engaging and educational endeavor. Various materials like foam balls, paint, and wooden dowels seamlessly converge to bring the cosmos to life.
Embarking on this project involves a preliminary phase of researching planet sizes and distances. The foundational element, the Sun, materializes through the transformation of a large styrofoam ball meticulously painted in vibrant hues.
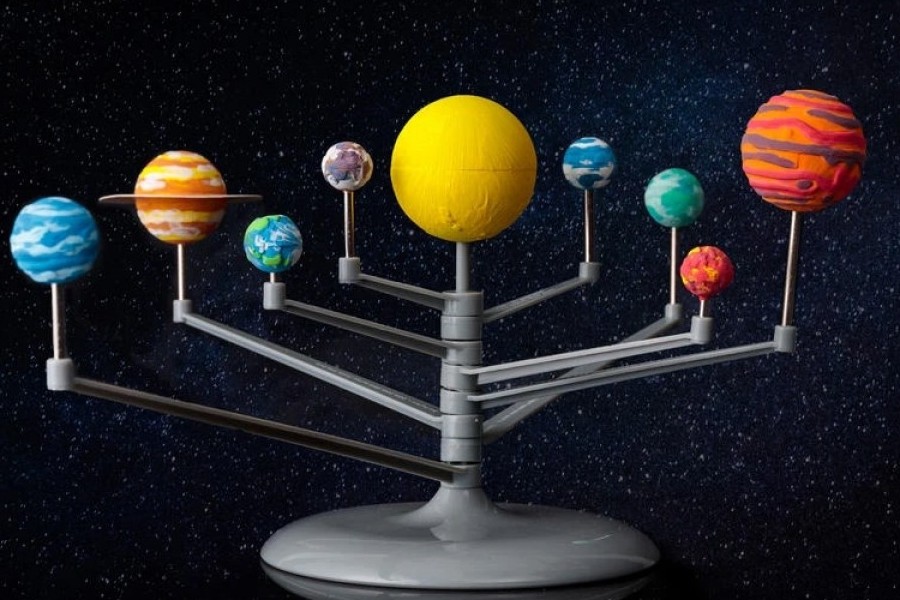
As the project unfolds, each planet finds its place in the model, represented by smaller foam balls affixed to wooden dowels, gracefully orbiting in their designated paths. Additional features like asteroid belts enhance the model’s authenticity, contributing to a more accurate representation of our celestial neighborhood.
Upon completion, the Solar System model transcends theoretical knowledge, offering a tangible and accessible hands-on experience. Through this approach, the wonders of the Solar System come to life, making the complexities of the cosmos comprehensible. Now, let’s delve into the detailed steps of how to make Solar System project.
Planning Your Solar System Model
Ensuring a seamless model layout and efficient logistics requires meticulous planning with precise scales. This approach serves as a preventive measure against potential challenges, such as space shortages or mismatches.
Considerations for scale and materials selection
Scale considerations for accuracy and space
To capture the vast distances inherent in the Solar System, it becomes necessary to condense the scales while preserving the relative order of the planets. In tabletop models, employing scales of millions or billions allows Earth to be represented as a mere marble, leaving ample space to delineate the orbits.
Materials required for the model
Materials needed for the model include common items such as polystyrene balls in assorted sizes representing planets. To add vibrant colors and surface details, paint, clay, and wires are essential.
Also, wooden dowels create sturdy axes and support structures within the model. The orbiting components are securely connected using a strong thread or fishing line, ensuring stability and cohesion in the overall design.
Researching the Solar System
Research is instrumental in obtaining precise data about the bodies in the Solar System. This data ensures the accurate replication of relative dimensions, order, spacing, and notable features when engaged in modeling.
Understanding relative sizes and distances
Gathering information on planets and their features
Fact sheets provide comprehensive information about planets. This includes details such as sizes, orbital lengths, rotation speeds, atmospheric conditions, and the number of moons.
Also, consider incorporating mini-images to vividly depict phenomena like storms, the Great Red Spot, planetary rings, and surface markings to enhance their visual appeal. This visual approach adds depth to the information and engages readers in a captivating exploration of celestial bodies.
Utilizing research to enhance accuracy in the model
Apply researched data for the diameters of the Sun and planets to selected materials, adhering to the established scale. Utilize these measurements to calculate accurate orbital distances and angles, ensuring alignment with the published ratios governing planetary positioning.
Moreover, enhance realism by incorporating distinctive features such as tilts, colors, and major moons. This meticulous approach will result in a more authentic representation of the celestial bodies in your depiction.

Building the Sun and Planets
Detailed steps for creating the Sun
Blow up an orange balloon about 12-15 inches in diameter to represent the glowing Sun that planets orbit around. Alternatively, create a Sun from a sizable hollow foam/paper-mache sphere painted appropriately.
Materials and techniques for constructing the sun model
Enhance the visual appeal of your solar model by employing a mixture of yellow and orange paints applied with sponges. This will create a textured, pockmarked surface closely resembling the intricate details of the Sun’s surface.
Integrate small, wallet-sized cutouts featuring dark images of sunspots strategically into the design. Accentuate solar prominences by skillfully attaching toothpicks, painted in vibrant red and blue hues, along the edges for a striking and realistic representation.
Placing the sun in the center of the model
Securely mount sturdy wooden rods onto heavy baseboards. Then, affix the sun model firmly onto these rods, ensuring it occupies a central and suspended position from the board.
Nonetheless, prioritize stability by using robust adhesive and reinforcing attachment points for the sun. After confirming the sun’s stability, add the orbiting planets to complete the model.
Crafting individual planets
Incorporating unique features or characteristics for each planet
Carve polystyrene balls into spheres according to researched diameters. Then, hand paint them, drawing inspiration from reference images like the mesmerizing whorls on Jupiter or the intricate details of Saturn’s rings.
For added realism, insert wires to represent tilted axes of rotation where applicable. This will create a dynamic and visually captivating display.
Assembling the Solar System Model
Arranging the planets in the proper order
Arrange the planets in their researched order, starting with those closest to the Sun: Mercury, Venus, Earth, and Mars. These inner planets are followed by the gas and ice giants Jupiter, Saturn, Uranus, and Neptune. Make sure to incorporate dwarf planets such as Pluto and position asteroids accordingly in their respective places within the Solar System.
Considering orbital paths and distances for authenticity
Apply scaled reduction factors in calculations to position planets. Use elongated fishing line loops wrapped around wood dowels securely anchored into the baseboard for elliptical orbits.
Moreover, realism can be attained by adjusting the tilt angles of orbital planes based on accurate data. This meticulous approach ensures that the planetary positions and orbits in the model are accurately represented.
Securing planets and the sun in place within the model
The model involves knotting and gluing planets securely as they orbit along their paths around the suspended sunlight source at the center. With its robust base, the setup ensures a stable foundation, resulting in a tidy and organized desktop Solar System display.
Enhancements and Additional Elements
Enhance the model by incorporating representations of the most prominent moons orbiting major planets. Include additional crafted spheres to symbolize the asteroid belt between Mars and Jupiter.
Furthermore, prioritize Jupiter’s four significant moons – Io, Europa, Ganymede, and Callisto – and Saturn’s Titan and Enceladus. Arrange them based on their relative sizes and significance, ensuring they stand out within the celestial display.
Also, utilize myriad mini glowing beads arranged on thread loops to depict dense asteroid fields intricately. Extend a few bead strands beyond Neptune to visually signify the Kuiper belt’s presence, enhancing the overall representation of our Solar System’s celestial bodies.
Rings and special features
Saturn’s rings can be made from CD/DVD pieces embedded into the planet. Paper rings around other giants add realism. So, paint a red dot with spillover bands on Jupiter to recreate its iconic turbulent storm raging for over 300 years.
Conclusion
Constructing a scaled Solar System model enables deeper comprehension of the vast distances and unique properties of the Sun and orbiting celestial bodies. We hope the detailed guidelines provided on how to make Solar System model give you the confidence to undertake this engaging project.
Seeing orbital motions, planetary tilts and spatial relationships helps cement concepts explored in this article for a lasting grasp. Equipped with these insights on recreating a working heliocentric replica, people can showcase their custom-built model and inspire budding astronomers.
