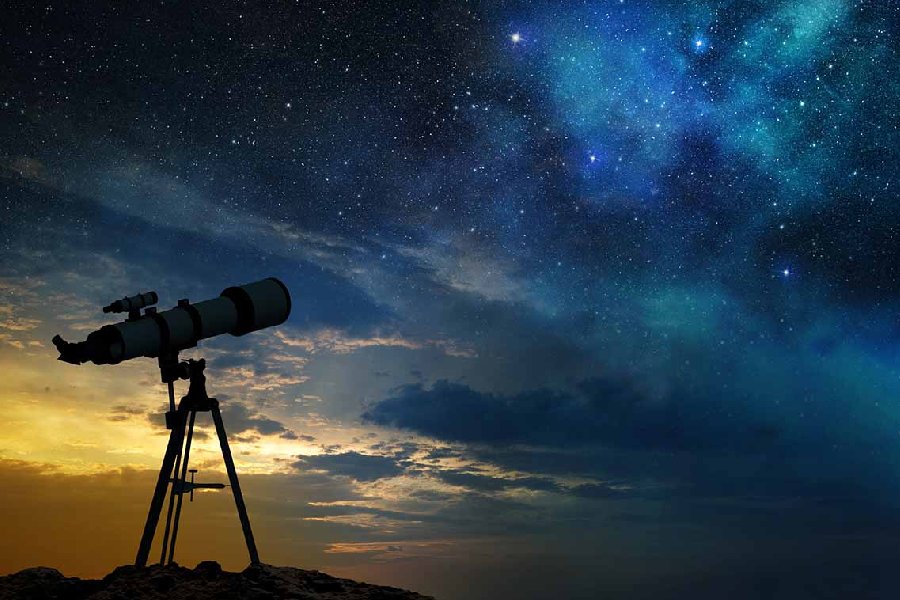
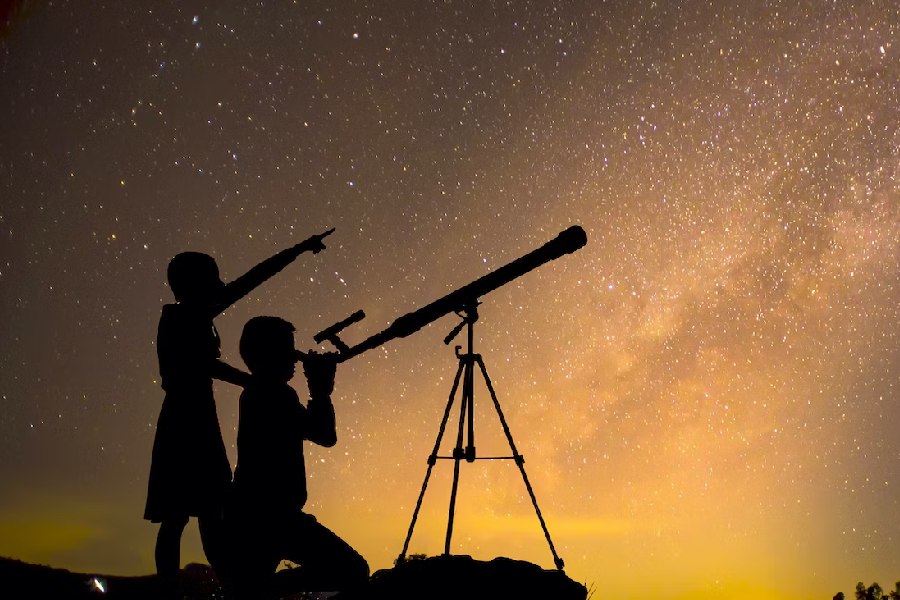
Have you ever gazed up at the majesty of the night sky, marveling at its countless stars and the intricate features of planets like Mars and Jupiter? If so, learning how to use a telescope to unveil cosmic wonders may be for you! In this helpful guide, we’ll unravel key skills for becoming an adept telescope operator, whether novice or recreational astronomer.
We’ll explore critical considerations for choosing the telescope best matched to your stargazing goals and lifestyle. For example, demystifying specifications like aperture, focal length, and magnification can make comparing options more straightforward.
We’ll also cover how to assemble the different parts to ensure your telescope works properly. From initial aiming to focus techniques plus tracking tips – let’s cover the core skills you need for deep space observations.
How to Use a Telescope
Using a telescope involves familiarizing yourself with its components, setting up in a stable location, and aligning the finder scope.
Choose the right eyepiece based on your target, focus the telescope for a sharp image, and learn to navigate the night sky using star charts or apps.
Understand the telescope’s movements for tracking celestial objects and be patient during observations. Joining astronomy communities can provide valuable tips and experiences, contributing to a more enriching stargazing journey.

Essential Components
Key optical components at the heart of telescopes include the main objective lens in refractors or the primary mirror in reflectors. These enormous lenses/mirrors capture celestial light, concentrating it towards a focal point.
Maintaining this aim relies on sturdy, smooth mounts countering Earth’s rotation. Finally, eyepieces or sensors view the focused output. Combined effectively, these various components enable observation across cosmic distances.
Role and importance of each component
The main lens or mirror is the aperture that controls light collection ability. Mounts keep the telescope steadily aimed, centering cosmic objects. Good eyepieces or cameras/sensors translate the harvested light into clear images or usable data.
When correctly aligned, each part plays a vital role in showing off ethereal galaxies, intricate planet surfaces, and the sublime spectacle of deep space. We can thank the thoughtful telescope designers who engineered the instruments to deliver these cosmos marvels to eager eyes.
How to Use a Telescope for Beginners
Wondering how to use a telescope step by step? Let’s take a look.
Choosing the Right Telescope
Choosing the right telescope can be a rewarding process, but it requires careful consideration of needs, budget, and preferences. Remember– avoid under or overbuying by carefully weighing these elements at the matching phase.
Consider the types of objects you want to observe. Shorter focal lengths are suitable for wide-field observations, while longer focal lengths are better for planetary and lunar observations.
Most importantly, recognize your experience level. As a newcomer, start simpler before advanced capabilities. Better to grow into future needs rather than overbuy initially. Add functionality down the road as your skills progress over time.
With a clear handle on these main you can narrow down optimal telescope options.
Aligning the polar axis
Properly aligning the polar axis helps stabilize tracking by synchronizing the mount with Earth’s rotation so objects remain steadily centered instead of slowly drifting since the stars appear fixed from our planet’s spinning surface. This prevents image blurring.
Methods vary across mounts but often include pointing the mount accurately north, calibrating orientation parameters, using built-in software utilities, and fine-tuning the axis orientation by observing if sample objects stay centered when tracking the night sky.
Balancing the Telescope Tube
Balancing counterweights to match the optical tube assembly weight allows smooth movement without heavy strain on motors when adjusting aim. This prevents vibrations and allows for accurate pointing.
After securing counterweights, gently release the tube and ensure it stays level without slowly tilting. This even distribution of weight provides ideal stability. Make fine adjustments to achieve balance.
Connecting to computerized goto mounts (optional)
Advantages of computerized GoTo mounts – computerized mounts offer the benefit of automated tracking of celestial objects using integrated databases and control software to maneuver the telescope after initial setup, removing the need for manual aiming or coordinate calculations.

Stargazing Basics
From picking the best nights to key hardware setup, techniques for tracking cosmic objects, and interpreting astronomical maps, certain core competencies form the foundation for enriching stargazing experiences. Let’s overview critical tips for fueling your curiosity through any telescope.
Understanding Star Charts and Celestial Objects
Star charts help locate celestial objects like stars, nebulae, and galaxies. These maps denote constellations while indicating positions and apparent magnitude brightness for noteworthy objects. Learn to interpret included data like celestial coordinates.
Star charts contain celestial coordinates that you can use to aim your telescope accurately by manipulating the hand controls. This allows you to point at different cosmic objects once you determine their coordinates from the charts.
When observing, you’ll be able to identify galaxies as hazy elongated smudges through the eyepiece, pinpoint globular clusters as concentrated fuzzy spots, and differentiate nebulae by their diffused cloudy shapes. First-hand visual experience with these cosmic features facilitates recognizing their sometimes subtle distinctions.
Now that you understand how to use a telescope properly let’s take a look at some of the tips and tricks for successful stargazing sessions.
Planning Your Observation Sessions
Strategies and tips for successful stargazing sessions:
- Scout observing locations away from light pollution and confirm forecast showing clear night skies for best cosmic viewing potential
- Allow eyes 20+ minutes to adjust to darkness when arriving at the site while assembling gear
- Use red flashlights to preserve adapted night vision
- Ideal “seeing” conditions mean perfectly clear, steady skies at maximum darkness during the new moon
- Although not perfect, interesting observation is often still possible under moderate light or high-altitude haze when grasping the basics
- Consulting hourly cloud cover forecasts and moon phase calendars helps schedule rewarding sessions with a higher success likelihood.
Using Your Telescope
With assembled mounts, balanced tubes, aligned finderscopes, and secured eyepieces, initialize goto controllers or manually point towards target coordinates from star charts. Slowly refine aiming until celestial objects become visible within detection range.
Upon acquiring targets visually, practice optimizing focus, tracking accuracy, magnification adjustment, and exposure settings to reveal details based on the type of object observed. Develop intuition for control adjustments through first-hand observation.
Locating objects in the sky with star charts and apps
Printed star atlases detail major objects’ positions, while mobile apps like SkySafari provide searchable databases plus augmented reality for easy aiming. Enter your observation site coordinates for customized vantage points.
Excellent starting astronomy mobile apps providing catalogs, charts, and tracking assistance include SkySafari, StarTracker, and Star Walk 2. Pair with time-and-date.com for planning or Telescopius as an online observing resource.

Understanding Star Charts and Celestial Objects
Introduction to celestial navigation
Star charts act like maps for aiming your telescope’s gaze across the cosmos. By denoting celestial coordinates and cataloging cosmic highlights by location, these guides act as maps.
They allow stargazers to pinpoint wondrous phenomena from swirling galaxies to glittering star clusters. Celestial navigation unlocks profound beauty.
How star charts work
Star charts help locate celestial bodies by projecting the spherical celestial sphere onto a flat printable page. Like a map of Earth, distortions occur at the edges.
Key reference points include constellations connecting stars into visual shapes. The bright band of the Milky Way also assists orientation. Charts indicate the positions and brightness of cosmic objects using a coordinate grid system.
Identifying prominent celestial objects
Mnemonics help identify celestial varieties. Galaxies appear as FUZZY elongated smudges. Round bulge-shaped Planetary Nebulae resemble a Cat’s Eye.
Distinct points pinpoint brilliant singular Stars. Expanded gaseous Supernova Remnants contain delicate Filaments shining like cosmic spiderwebs. Colorful knots illuminate tight Open Star Clusters. Memorizing such associations facilitates recognizing cosmic glories.
Using Your Telescope
Setting up your observation gear
Unpack and assemble the optical tube, mounts, finder scope, and accessories to avoid chaotic hunting later under night skies. Ensure secure yet balanced attachment, allowing smooth rotation.
Initialize and calibrate any software aids for locating celestial waypoints. Power everything on to confirm full functionality before venturing into darkness.
Observing celestial wonders
Aim towards target coordinates from memory, charts, or apps. Peer through finder scope to precision align within the narrow optimal viewing window. Gradually refine focus until details emerge from the darkness and wonder ignites.
Practice efficiently centering objects within the field of view as the Earth rotates. Be ready to adaptively adjust settings to reveal each cosmic jewel’s distinct glory.
Getting peak performance from your optics
Understand your instrument’s capabilities baseline out of the box. Set reasonable expectations for entry-level gear resolution limits. As experience grows, determine which upgrades offer the biggest views-for-value returns.
Study skies from both dark sanctuaries and urban fringes to practice techniques for imperfect conditions. Increase advanced capacities steadily only as needed to nourish lifelong passion.
Conclusion
As we have seen, learning proper techniques for how to use a telescope opens up worlds of possibility in studying the grandeur of our universe. We hope that reviewing key gear components, setting up steps like balancing and aligning, and developing core observing skills have proven to be helpful.
This information has illuminated effective methods to start unveiling cosmic wonders yourself. Stargazing relies first on finding dark skies and understanding celestial maps before letting optics capture light from gorgeous galaxies’ sparkling star clusters and eerie nebulae.
